Showing posts with label Spring Into Storage. Show all posts

April 4, 2011

Spring into Storage: Week #2, Coat Closet

I had to pick an "easy" project this weekend because I AM SICK!  Not much is going on around this house these days except trying to get well!  I couldn't get the whole closet in one shot, so I had to take a "top" and "bottom" photo.  Before pics:
Even though the whole thing seems a mess there are 2 main things that I wanted to change:
1. Clothes on the top shelf-those are clothes the kids have grown out of that need to be given away. Once I clean them, I throw them up there, so I need a box for each child so it's neat from here on. On the left is a stack of bags, and I've put them all in the black bag to use them whenever I need.
2. I thought these vertical storage shelves would be perfect for shoes. Well, I liked them, but the rest of my family couldn't quite get on board, so I needed to go back to the shoe rack we had at our last home. Whatever it takes for a 5 & 7 yr old to put up their own shoes!
While I was cleaning up, I put the kids' snow boots up high so they wouldn't get in the way.  The basket on the ground has gloves and scarves, and the walmart sack is a bag that I need to give to someone.  I love opening my coat closet now!

March 28, 2011

Organizing Side Effects!

This weekend I started my Spring cleaning in the basement storage!  It was hard work, but something tells me it won't be the hardest room I plan on conquering!  In the midst of that project I was reminded about 2 side-effects of organizing:

1.  Organizing encourages creativity.  I was taking a break after removing everything from the basement storage, and in the big pile of stuff I saw these two items, a black crate and red ribbon (in the Christmas box):
 I suddenly had this idea to weave the ribbon through the crate.  Here is the result:
No, it's not the prettiest thing ever, but I put a piece of cardboard in the bottom (which could be covered with wrapping paper), and now it can house smaller objects because they won't slip through the cracks.  If I was actually planning it, I could purchase cuter ribbon (wouldn't a black and white polka dot be cute?)  I plan to use this for storage in my daughter's room which is decorated in ladybugs.  It will probably be stored away in the closet, but at least when she pulls it out to play with its contents it will match her room! 

2.  Organizing may require compromise.   Even though my dream is to have unlimited funds for organizing, that's just not realistic!  I have more than 10 spaces to work on.  Buying new containers for every single one can get quite expensive!  So I started using the items I already have  in the house.  I was originally going for a symmetrical look in this space, so I put a shoe rack on either side:

I quickly realized these were inadequate!  I wanted to put more on these shelves, but the shelves were too narrow and not sturdy enough to hold everything!  What I realized I needed was a tall bookcase, but the only spare one we have is black, not something I would pick in such a small space . As I told my husband my dilemma, he made a request of me.  He asked that I would use the black bookcase for a few weeks to find out if that is really the shelving that will work, and if so I can buy a bookcase in the color of my choice.  I said yes because I'm organizing these spaces to make my whole family happier, not just me!  So in addition to being an "after" picture, this is a picture of compromise:

Week #1, Basement Storage "After"

I can't wait to show you my reveal!  In case you didn't see my before pictures or "plan of attack" posted Friday, you'll want to see that here.  The next step of orgjunkie's P-R-O-C-E-S-S is REMOVE, so I took everything out and started with a blank slate. 

Now, what to put put back in!  I have this new freezer that needed to go in this space, so I put it in first!  I also purchased these brown shelves from a military mom for $10 and couldn't believe that they both fit!  I still have more to put in, so I don't know that they will stay, but I loved that they fit so perfectly.   

By the way, here is the pile of stuff that used to be inside this space:

The next step is where I spent the bulk of my time.  "O" is for Organize into piles.  This was going pretty smoothly until I came to this 3-drawer container.  I was stuck, so I slept on it: 

When I woke the next morning, I thought to go back and read the PROCESS again.  I realized that while I was working the PROCESS in the room,  I had not worked the PROCESS with this bin.  I had skipped "R"-I hadn't removed everything!  I promptly corrected that: 

It wasn't really fun dealing with the little things (so tedious), but I found a place for everything and threw away plenty.  For the entire space, I purged a trash bag worth of items and a broken Christmas box: 

Here are all my piles.  Under the picture I have listed from left to right what they are and where they have been relocated to:
  • Halloween, Christmas, and Easter boxes went to the outside storage
  • Black crate, nebulizer, and box underneath went to Samantha's room
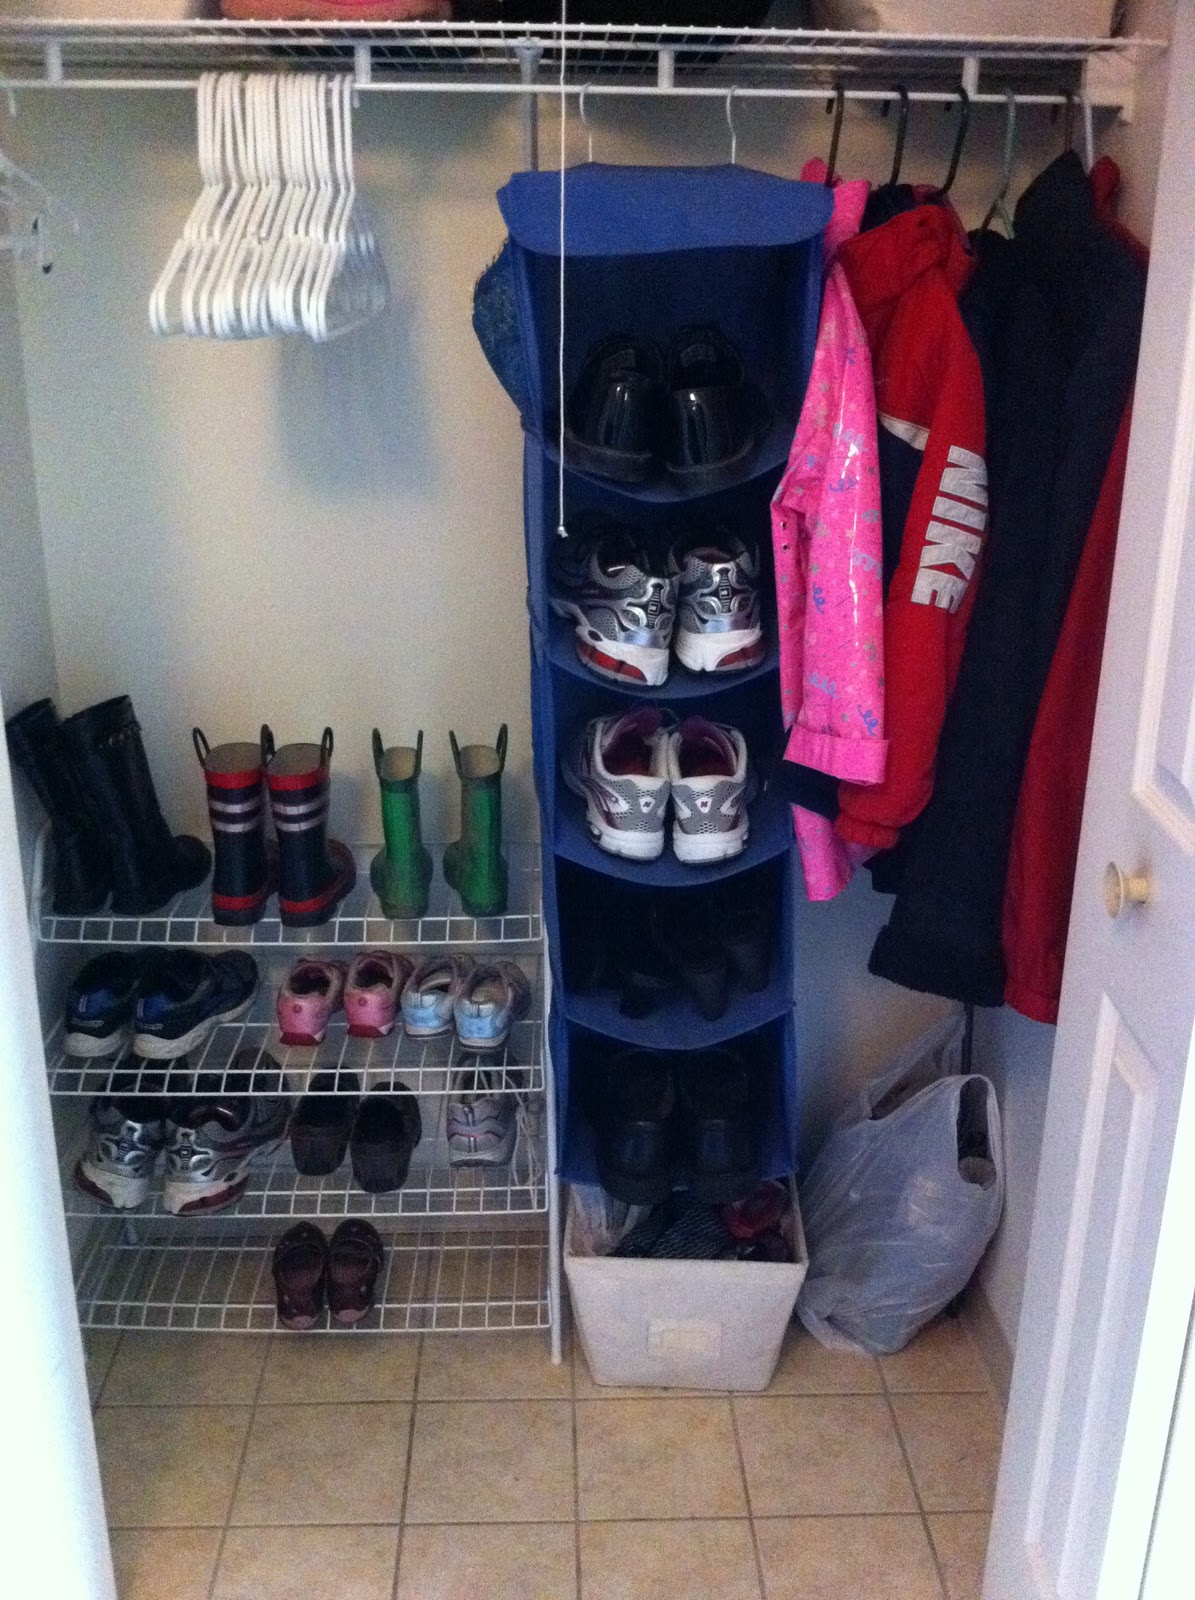
  • Black bag in front of that box went to the top shelf of the coat closet
  • Wicker basket went to Timothy's room
  • Electronics went to entertainment armoir in living room
  • Tools went to the garage
  • Luggage carrier and baby gates went to a specific area in garage designated to sell or donate
  • Card tables went back into basement storage
  • Sealed clothes went to top shelf of the laundry room
Next I needed to "Containerize" or find storage solutions.  As you can see this space already had several containers.  In fact, look at how many empty containers I had leftover!
There were 3 container choices I made:
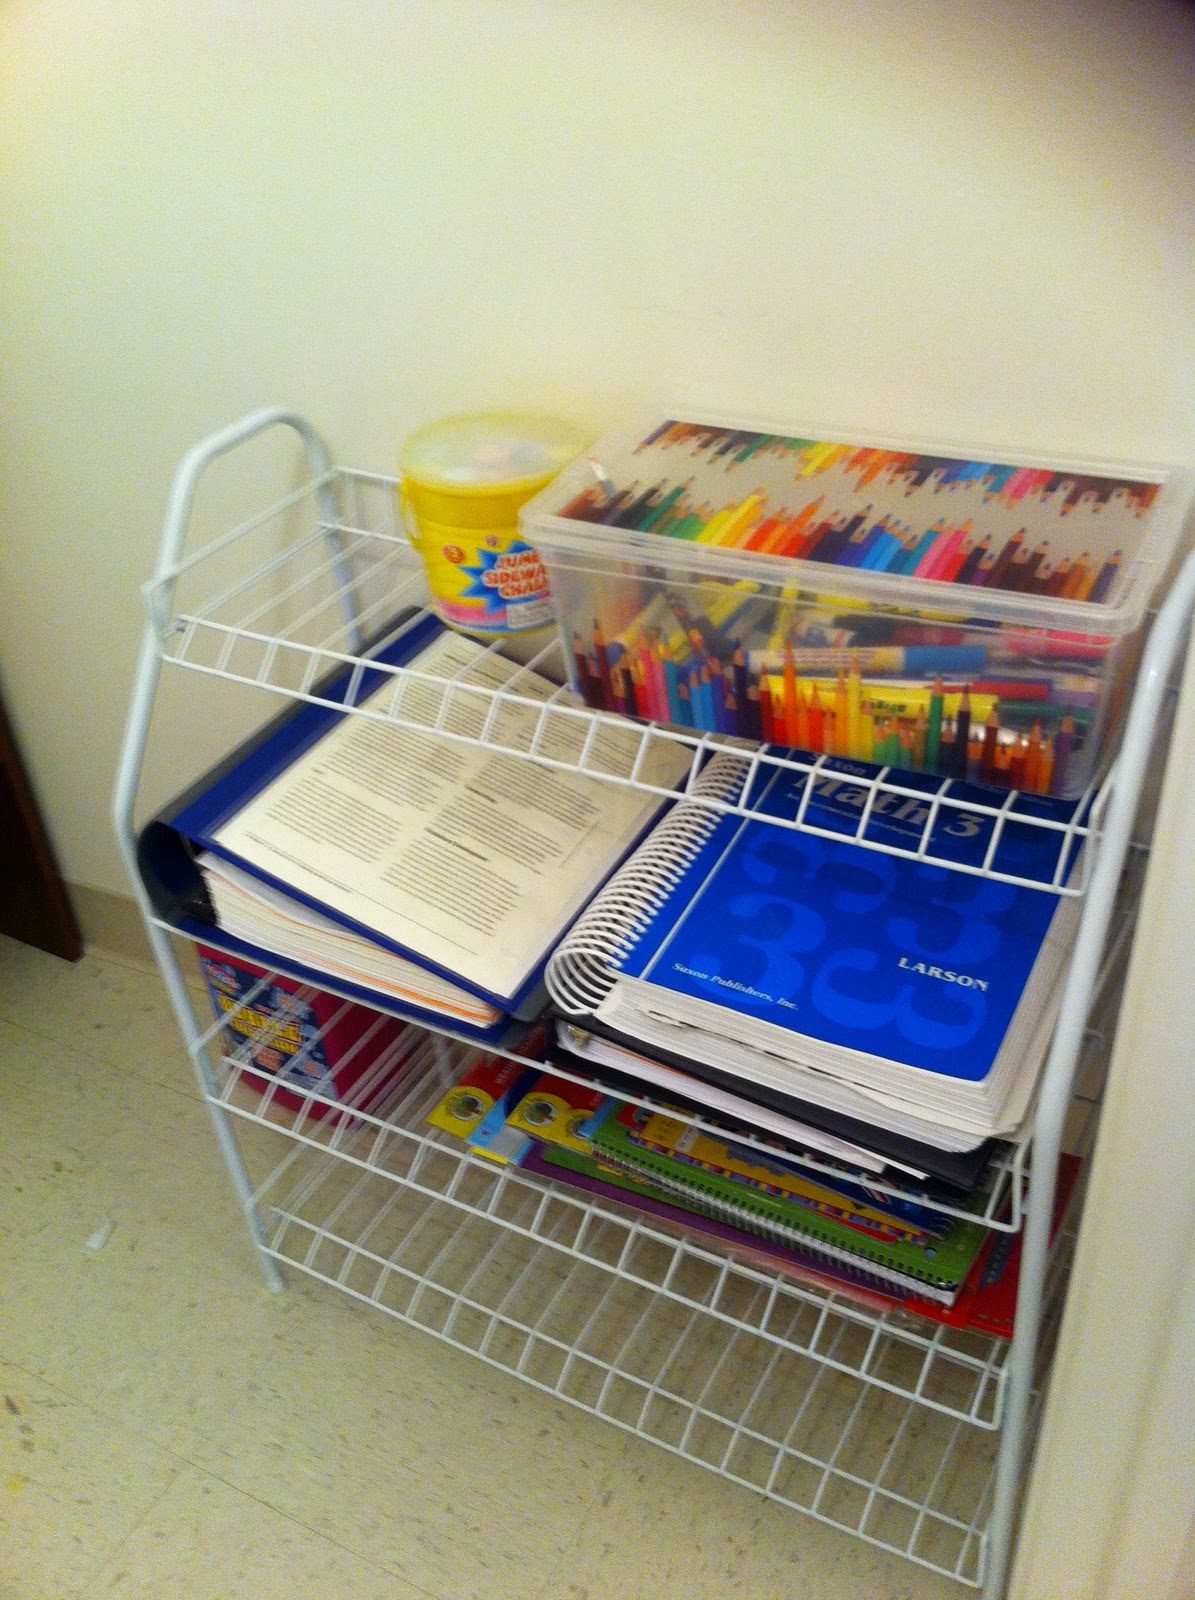
  1. The most important container I needed was the shelving to place my school and craft supplies on.  I'll talk more about my decision making process on that tomorrow, but the final conclusion was one tall bookcase. 
  2. The pink caboodle pictured previously housed our craft paint and brushes.  However, a mom was selling a plastic bag full of those items at a garage sale for $5, so I needed a larger bin.  You'll see that on the top shelf of the final picture.  Now my cute caboodle is empty and any recommendations on what do with it would be greatly appreciated!
  3. Once we put all the tools in a tub, we realized we needed one large tool box, which I picked up at Wal-mart last night.  Here's my hubby hard at work doing that:

I feel like it will take me some time using the new system to Evaluate and Solve/Simplify, but I tell you what...I sure am Smiling!  All of the kids crafts supplies, games, and my teacher books fit with room to spare!  (I just realized I forgot to adjust the shelves, but I'll chalk that up to an entire house of sick people.)  I just love it.  Do you have any ways I could make the space even better?  I would love to hear them!


March 25, 2011

Week #1, Basement Storage "Before"

Even though it is snowing outside my window as I type, this is the first week of Spring!  And to celebrate I am gearing up to do some Spring Cleaning.  I realize traditionally this refers to "deep cleaning", and I'll be doing that, but what my house really needs is some organization help!  We moved here in September, and I didn't get it set up from the inside out.  We've been blessed with the largest house we've ever lived in.  I couldn't be happier, but there is a small downside.  Even though there is tons of storage space here, there are are very little shelves to help with vertical spacing.  I am going to Spring Into Storage!

I will be using the P-R-O-C-E-S-S created by Laura, the Organizing Junkie!  The first step "P" is "plan of attack".  My plan is to organize all of the hidden storage areas in my home.  I plan to work on one space per weekend (except my outside storage which may need several)!  Since Spring started on March 21st and Summer begins June 21st, that means there will be 13 weekends of Springing Into Storage.  I am very excited!

Here is a list of the spaces I intend to tackle.  They are in no particular order:
  1. Basement Storage
  2. Laundry Room
  3. Coat Closet
  4. Kitchen Pantry
  5. Built In Desk
  6. Linen Closet
  7. Timothy's Closet
  8. Samantha's Closet
  9. Master Closet
  10. Garage
  11. Outside Storage
I am a big fan of the before and after photo, whether it be a makeover or room decor, so that's what I'm going to do!  I will start by posting a "before" photo some of my general plans.  I'll post it on Friday if I've had enough time to think ahead!  When you see the before pics you'll think: "Alicia must have made those spaces look extra messy so her after shot would look better!"  Let's go with that.  And then after the weekend, I'll post photos of the P-R-O-C-E-S-S and the "after" shot!

Let's start the fun!  Below are before photos of my basement storage room.  This is an interestingly shaped space.  I think you can tell in the photo since it's under the staircase it has a slant in the ceiling, but at the entrance the space is full height.  There is about a foot on each side of the door to the wall.  This is the only closet in my basement where I homeschool, so I hope to eventually use this room for storage of all things school and craft!   Wish me luck!